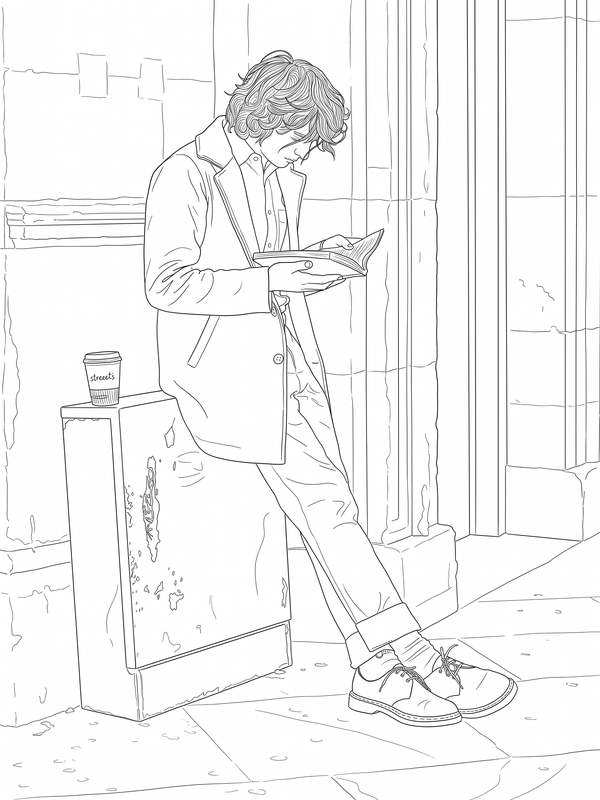
Picture accurate
The whole picture turned into line art as it is: background, pose and framing included. Nothing removed or corrected.
Six steps, about a minute of waiting, three files. Here is the whole thing, screen by screen.
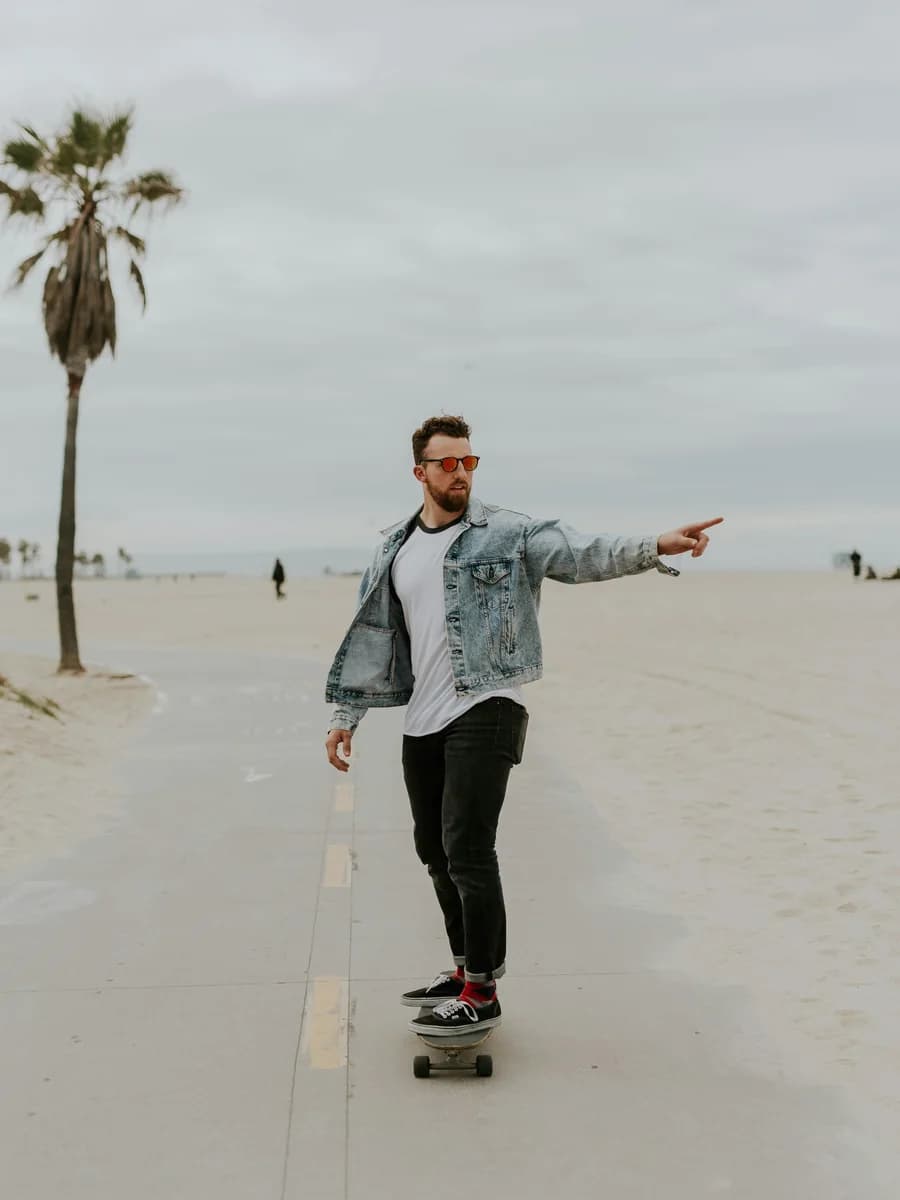
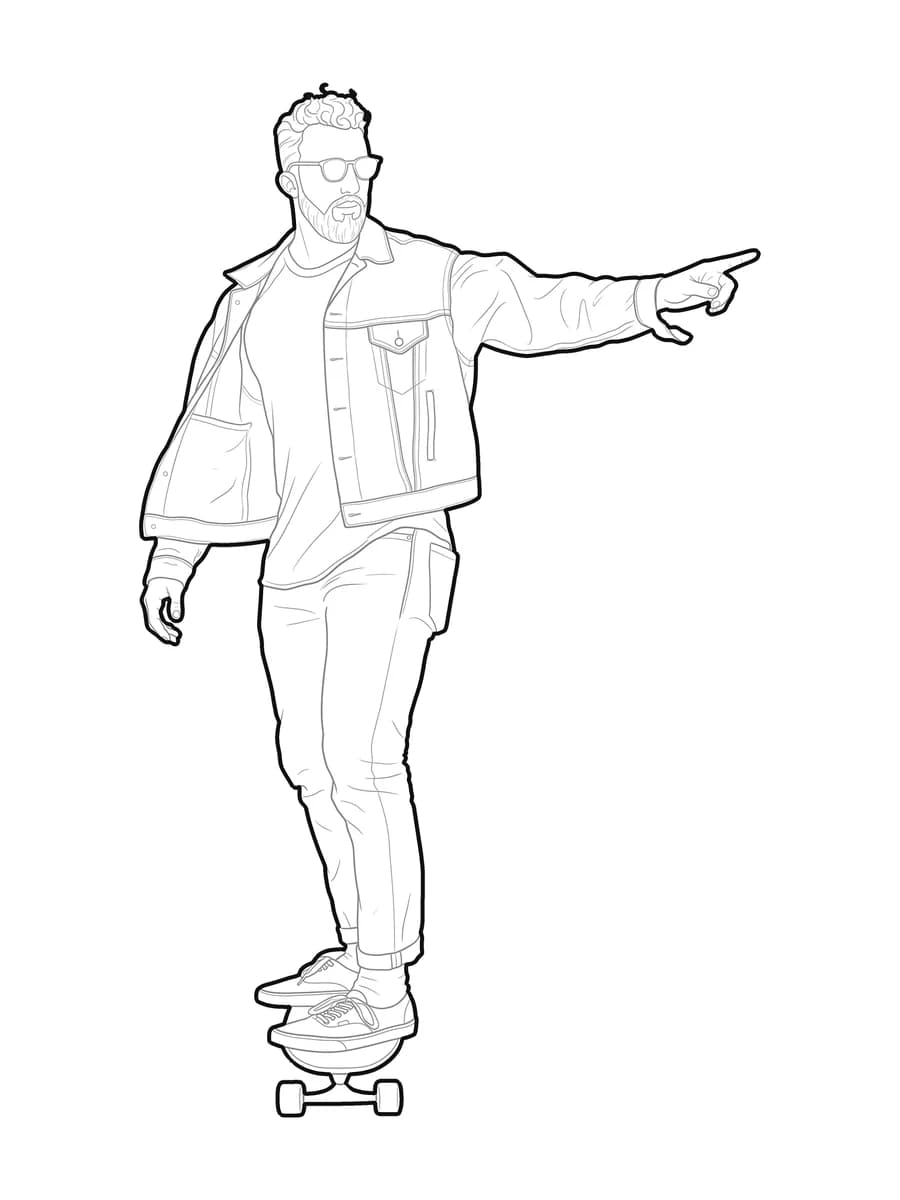
The six steps
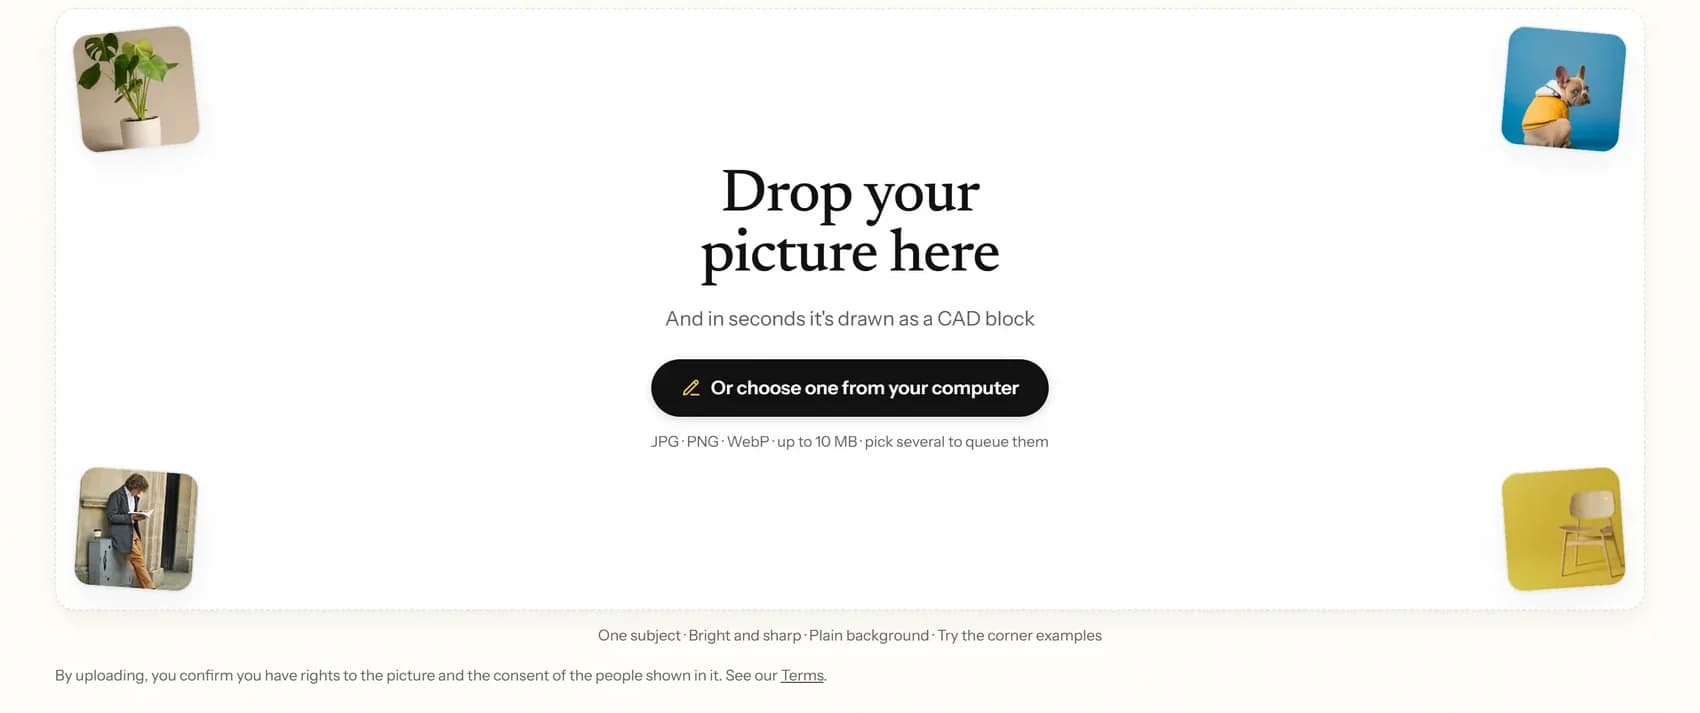
Drag it in or pick it from your computer. JPG, PNG and WebP, up to 10 MB, and up to five at a time.
Three cards, and this is the choice that decides everything else.
The whole picture turned into line art as it is: background, pose and framing included. Nothing removed or corrected.
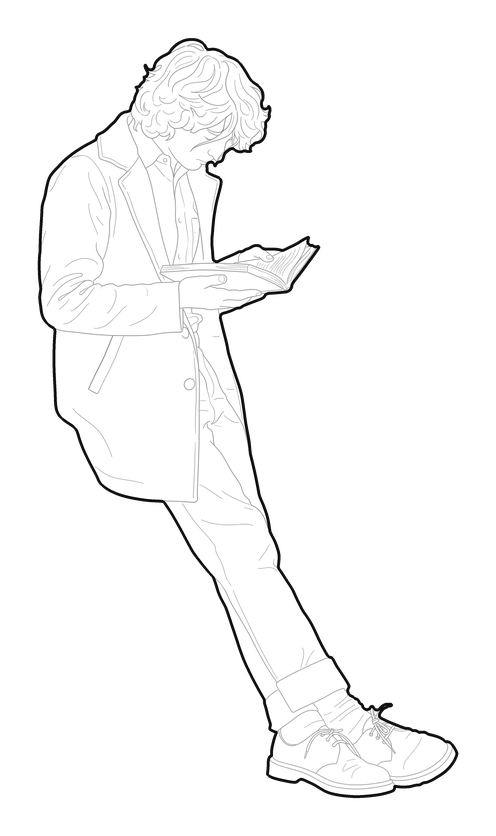
Cuts out what matters and draws it clean, without background: same pose, same angle. The fastest option for your drawings.
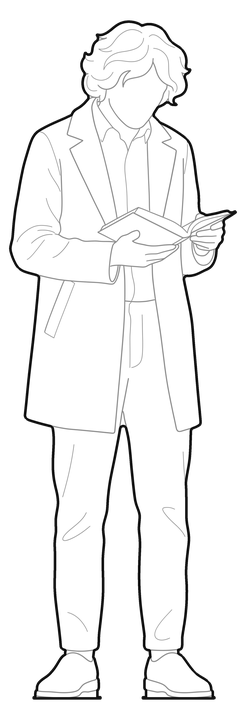
Redrawn as a clean CAD entourage figure, seen from the front, side, back or top, and scaled to a real height.
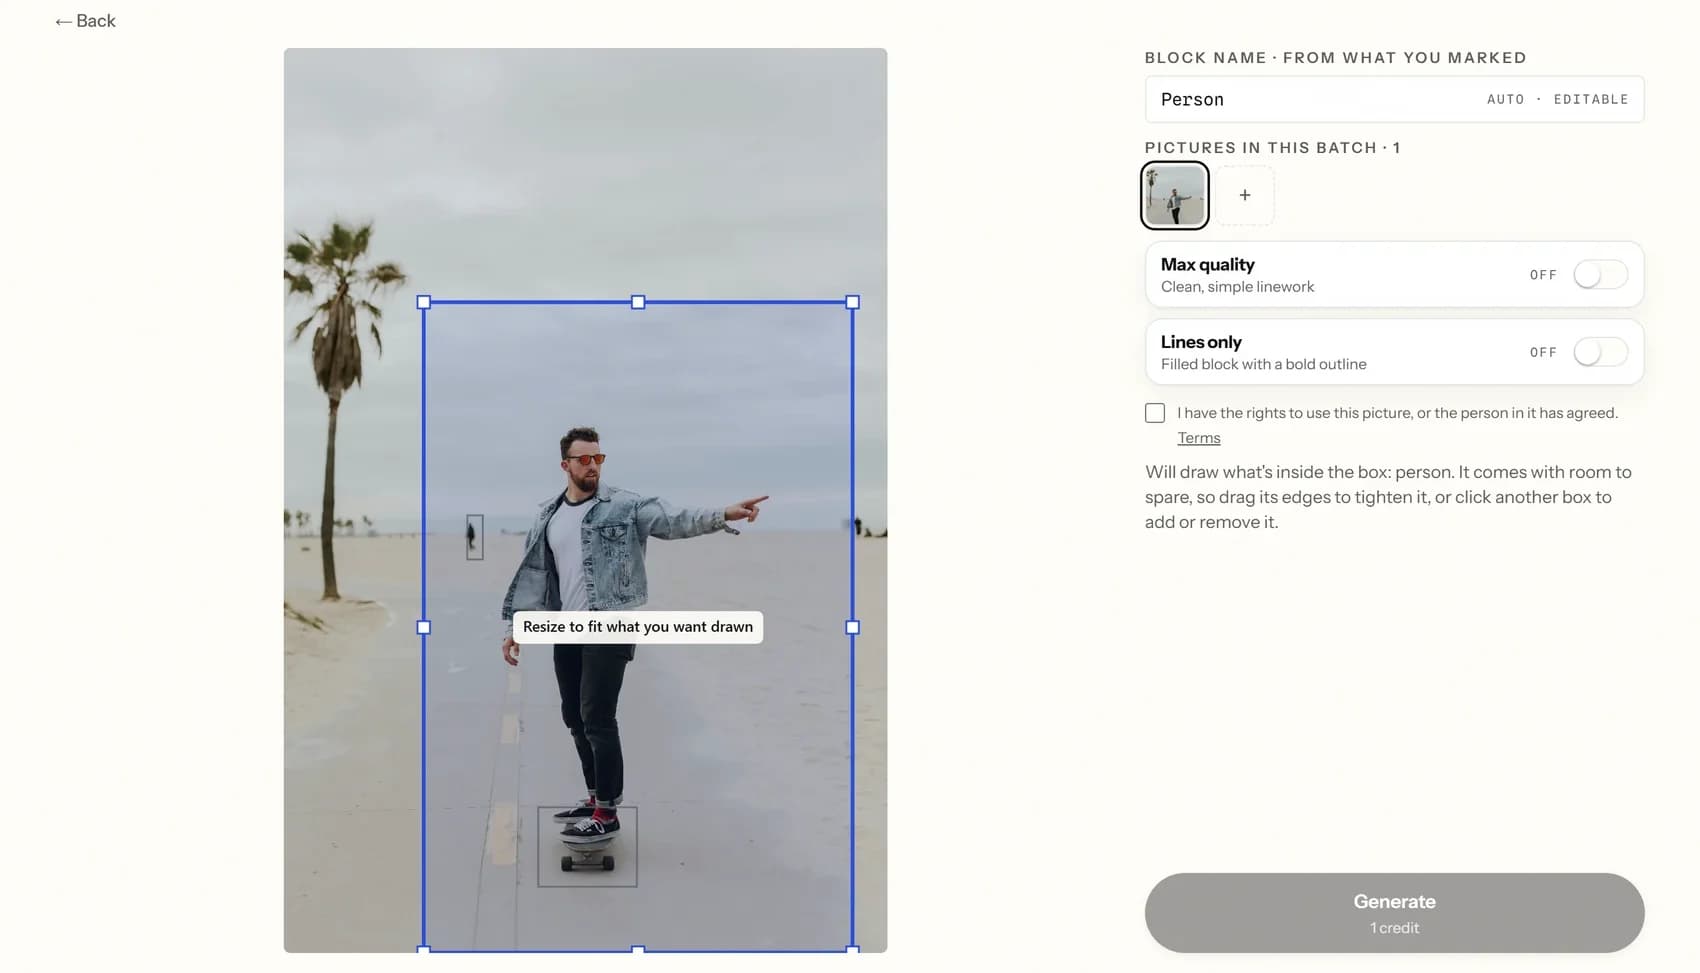
It finds the subject on its own and boxes it. Drag the corners to tighten it, or click another box. Picture accurate skips this step.
The view, the real height in millimetres, and how much detail you want inside the outline. Then confirm the picture is yours to use.
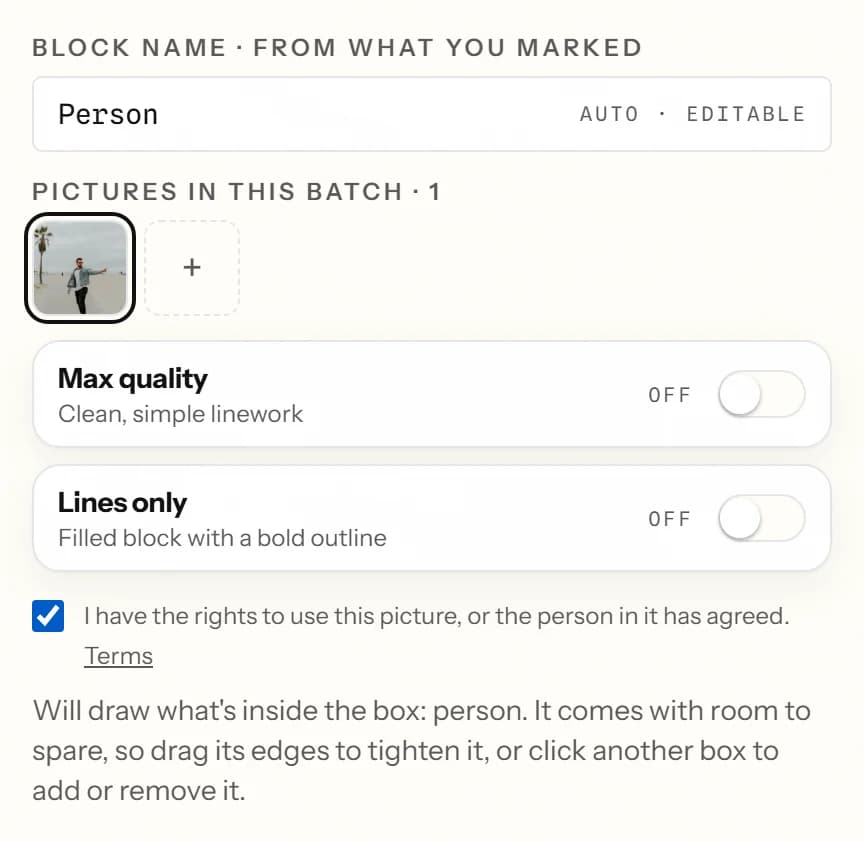
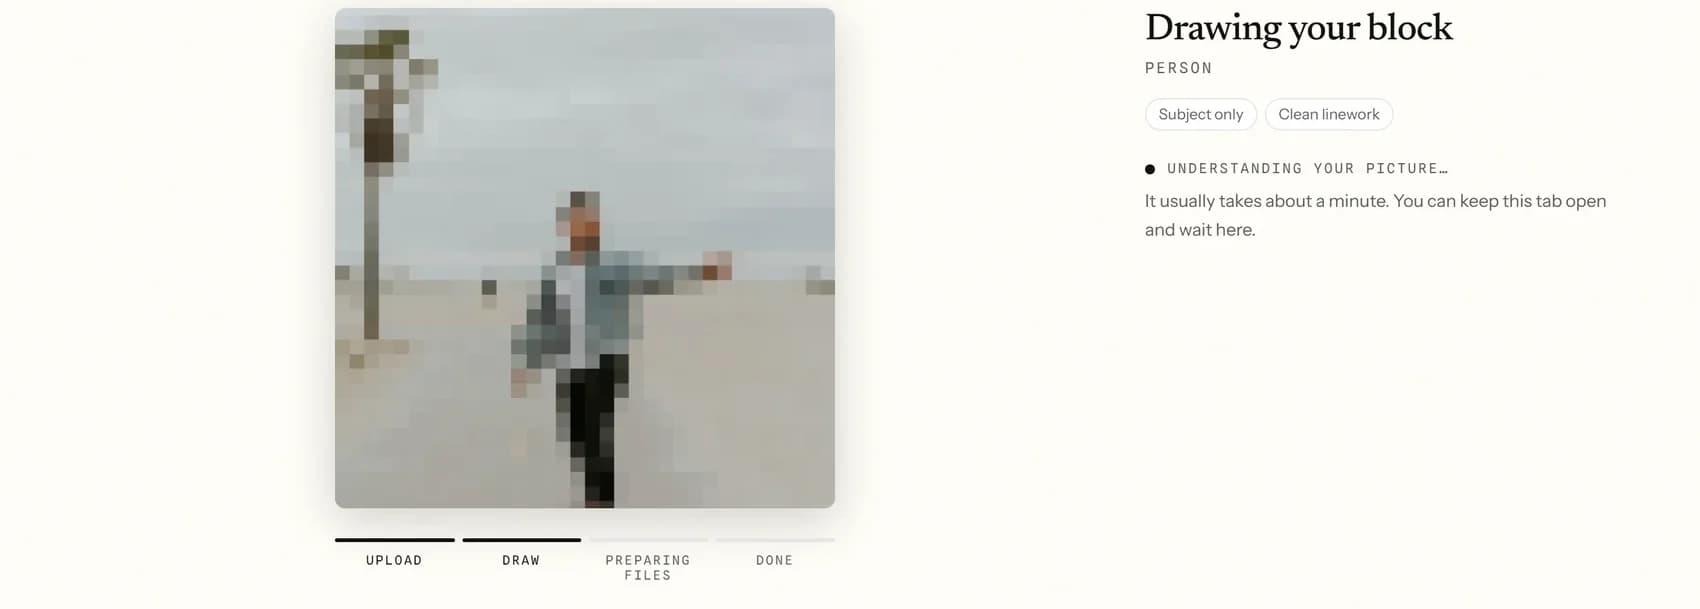
One credit, about a minute. If it cannot be drawn, the credit goes back on its own.
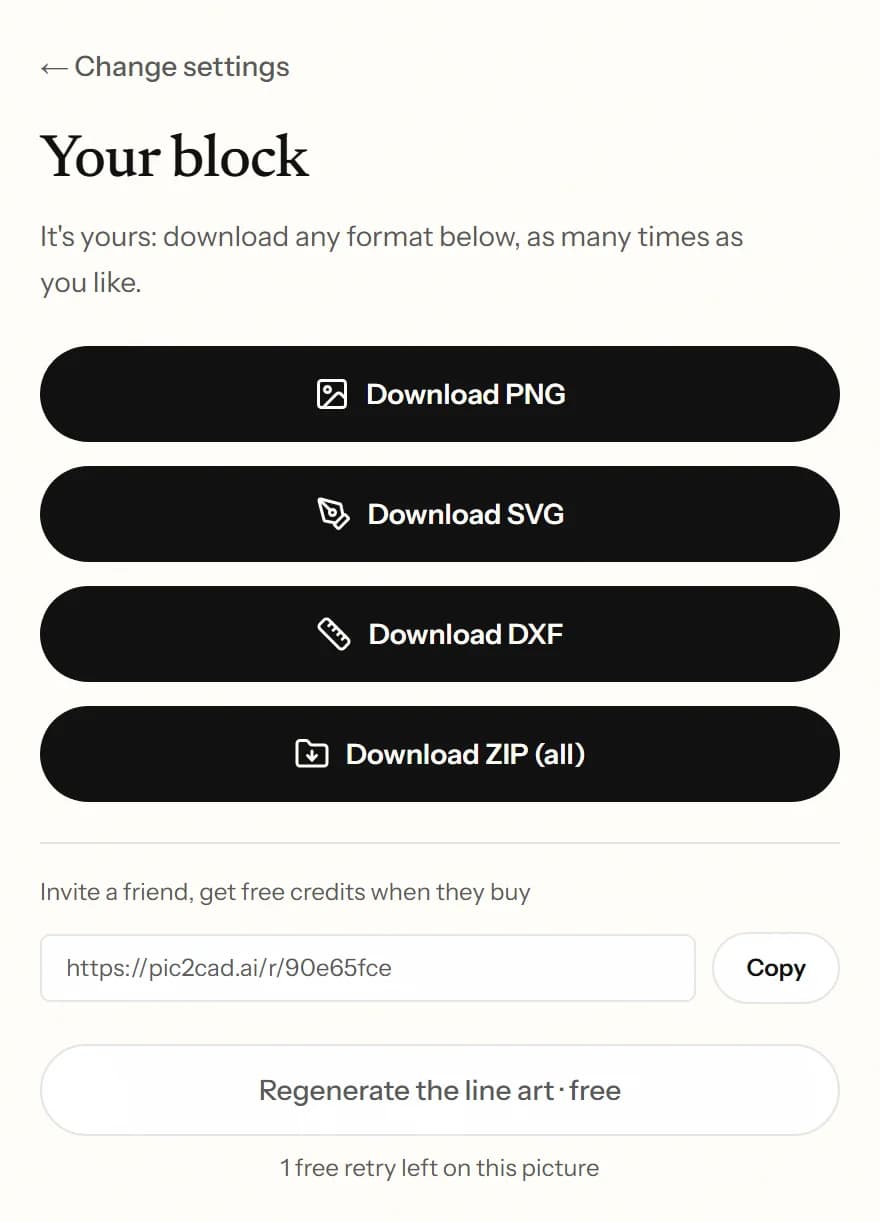
PNG, SVG and DXF, or the three together in a ZIP. Downloading is free, on every plan, as many times as you like.
The list a tracer cannot match. Open the file and check every line of it.
Clean lines, and only lines
Not one stray curve around a shadow, a fold or a reflection.
A closed outline
The figure is shut all the way round, so it hatches and fills first time.
A block on white
No background, no grey box behind it. The PNG comes out transparent.
Layers you can work with
Outer, Inner and Fill kept apart, not one single blob on layer 0.
Splines, not sawteeth
A curve is a curve, not a chain of two hundred tiny straight segments.
The size you asked for
Type 1700 mm and the DXF measures 1700 mm. Nothing to scale by eye.
Four views that match
Front, side, back and top drawn in one pass, so they are the same figure. One credit.
It opens where you work
The DXF in AutoCAD, Revit, Rhino, ArchiCAD and LightBurn. The SVG in Glowforge and anything else.
Three formats, always
PNG, SVG and DXF on every plan, and 3 drawings a month on the free one.
The tool is forgiving, but the picture you feed it still decides how good the line comes out.
Works well
Gives trouble
The first one is free, and downloading the three files is free forever.
Create a drawing